Connecting a Raspberry Pi behind a router might seem challenging, but with the right steps, it can be done efficiently and securely. This guide will walk you through everything you need to know about setting up your Raspberry Pi behind a router, ensuring seamless connectivity and optimal performance. Whether you're a beginner or an advanced user, this article will provide you with all the necessary information to get started.
Raspberry Pi has become a go-to device for hobbyists, developers, and tech enthusiasts. Its versatility and affordability make it an excellent choice for various projects, from home automation to server setups. However, connecting it behind a router requires some technical knowledge to ensure proper configuration.
In this article, we will explore the step-by-step process of connecting your Raspberry Pi behind a router. We'll cover everything from basic networking concepts to advanced configurations, ensuring that your Raspberry Pi is set up correctly and securely. Let's dive in!
Read also:Sone 385 Japanese Unveiling The Secrets Of Japans Iconic Train
Table of Contents
- Introduction to Raspberry Pi
- Understanding Networking Concepts
- Connecting Raspberry Pi Behind a Router
- Configuring Network Settings
- Securing Your Connection
- Troubleshooting Common Issues
- Advanced Configuration Options
- Frequently Asked Questions
- Benefits of Connecting Raspberry Pi Behind a Router
- Conclusion and Next Steps
Introduction to Raspberry Pi
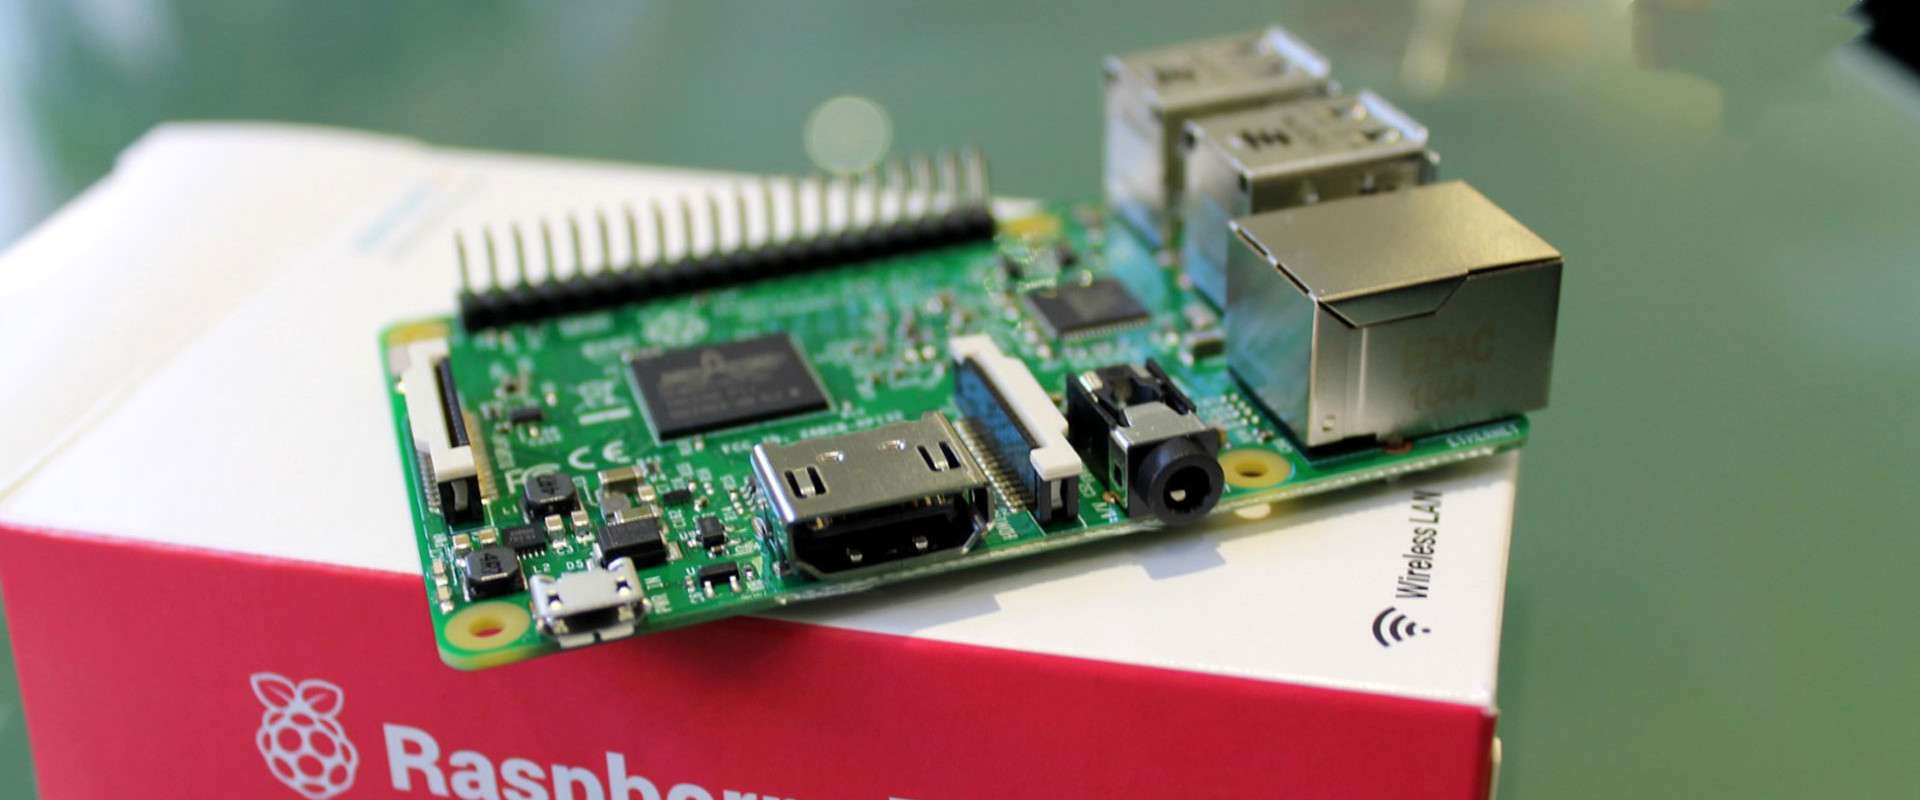
The Raspberry Pi is a small, affordable computer developed by the Raspberry Pi Foundation. It was initially designed to promote computer science education but has since become popular for a wide range of applications. Understanding the basics of Raspberry Pi is essential before diving into networking configurations.
Key Features of Raspberry Pi
Raspberry Pi offers several key features that make it ideal for various projects:
- Compact size and low power consumption
- Multiple GPIO pins for hardware interfacing
- Support for various operating systems, including Raspbian and Ubuntu
- Compatibility with a wide range of accessories and add-ons
Understanding Networking Concepts
Before connecting your Raspberry Pi behind a router, it's important to understand some basic networking concepts. This will help you configure your setup correctly and troubleshoot any issues that may arise.
Key Networking Terms
Here are some key terms you should be familiar with:
- IP Address: A unique identifier assigned to each device on a network.
- Subnet Mask: Used to divide IP addresses into network and host portions.
- Router: A device that connects multiple networks and routes data between them.
- Port Forwarding: A technique used to allow external access to devices on a private network.
Connecting Raspberry Pi Behind a Router
Connecting your Raspberry Pi behind a router involves several steps. This section will guide you through the process, ensuring that your device is connected securely and efficiently.
Step 1: Prepare Your Raspberry Pi
Before connecting your Raspberry Pi to the router, ensure that it is properly set up:
Read also:Jeff Bezos Ancestry Tracing The Roots Of A Visionary Entrepreneur
- Install the latest version of the operating system (e.g., Raspberry Pi OS).
- Update the system using the command `sudo apt update && sudo apt upgrade`.
- Ensure that SSH is enabled for remote access.
Step 2: Connect to the Router
Connect your Raspberry Pi to the router using an Ethernet cable or Wi-Fi, depending on your setup:
- For Ethernet, simply plug the cable into the Raspberry Pi and the router.
- For Wi-Fi, configure the network settings in the Raspberry Pi OS.
Configuring Network Settings
Properly configuring the network settings is crucial for ensuring that your Raspberry Pi is connected behind the router. This section will cover the necessary steps.
Assigning a Static IP Address
Assigning a static IP address ensures that your Raspberry Pi always has the same address on the network:
- Open the terminal and edit the network configuration file using `sudo nano /etc/dhcpcd.conf`.
- Add the following lines to assign a static IP address:
- interface eth0
- static ip_address=192.168.1.100/24
- static routers=192.168.1.1
- static domain_name_servers=192.168.1.1
- Save the file and restart the networking service using `sudo systemctl restart dhcpcd`.
Securing Your Connection
Security is a critical aspect of connecting your Raspberry Pi behind a router. This section will cover some best practices to ensure that your device is protected from unauthorized access.
Enable Firewall
Using a firewall can help protect your Raspberry Pi from potential threats:
- Install `ufw` using the command `sudo apt install ufw`.
- Allow necessary ports (e.g., SSH) using `sudo ufw allow 22`.
- Enable the firewall using `sudo ufw enable`.
Troubleshooting Common Issues
Even with proper configuration, issues can arise when connecting your Raspberry Pi behind a router. This section will address some common problems and their solutions.
Unable to Connect to the Internet
If your Raspberry Pi cannot connect to the internet, check the following:
- Ensure that the Ethernet cable is properly connected or Wi-Fi settings are correct.
- Verify the IP address and subnet mask settings.
- Restart the networking service using `sudo systemctl restart networking`.
Advanced Configuration Options
For advanced users, there are several additional configuration options that can enhance the performance and security of your Raspberry Pi setup.
Port Forwarding
Port forwarding allows you to access your Raspberry Pi from outside the local network:
- Log in to your router's admin interface.
- Locate the port forwarding section and add a new rule.
- Specify the external port, internal IP address, and internal port.
Frequently Asked Questions
Here are some common questions about connecting a Raspberry Pi behind a router:
Can I Use Wi-Fi Instead of Ethernet?
Yes, you can use Wi-Fi to connect your Raspberry Pi behind a router. However, Ethernet is generally more reliable and offers better performance.
Do I Need to Use a Static IP Address?
Using a static IP address is recommended to ensure consistent connectivity, especially if you plan to access your Raspberry Pi remotely.
Benefits of Connecting Raspberry Pi Behind a Router
Connecting your Raspberry Pi behind a router offers several benefits:
- Improved security through network isolation.
- Enhanced performance by leveraging the router's capabilities.
- Flexibility in configuring multiple devices on the same network.
Conclusion and Next Steps
Connecting your Raspberry Pi behind a router is a straightforward process with the right guidance. By following the steps outlined in this article, you can ensure that your device is set up securely and efficiently. Remember to configure your network settings properly and implement security measures to protect your setup.
We encourage you to share your experience and ask any questions in the comments section below. Additionally, explore our other articles for more tips and tricks on working with Raspberry Pi and networking configurations.