Remote IoT behind a router using Raspberry Pi has become one of the most sought-after solutions for tech enthusiasts and professionals alike. As more devices become interconnected, the need for secure and efficient remote access grows exponentially. This guide will walk you through everything you need to know about setting up a Raspberry Pi for remote IoT applications while ensuring optimal performance and security.
Whether you're a beginner or an experienced developer, this article aims to provide comprehensive insights into the best practices and tools for remote IoT setups. By the end of this guide, you'll have a clear understanding of how to configure your Raspberry Pi for remote access, secure your network, and manage IoT devices effectively.
With the increasing popularity of IoT devices, the ability to control and monitor them remotely is no longer a luxury but a necessity. This article will explore the best methods, tools, and configurations to ensure your Raspberry Pi setup is secure, efficient, and scalable.
Read also:Pining For Kim Tailblaze A Comprehensive Exploration Of Her Journey And Influence
Table of Contents
- Introduction to Remote IoT Behind Router Raspberry Pi
- Raspberry Pi Overview
- Benefits of IoT with Raspberry Pi
- Setting Up Raspberry Pi for Remote IoT
- Security Considerations for Remote IoT
- Essential Tools and Software
- Network Configuration for Raspberry Pi
- Best Practices for Remote IoT
- Troubleshooting Common Issues
- Future Trends in Remote IoT
- Conclusion
Introduction to Remote IoT Behind Router Raspberry Pi
Remote IoT setups using Raspberry Pi are transforming the way we interact with smart devices. The Raspberry Pi, a credit-card-sized computer, offers unparalleled flexibility and affordability for developers and hobbyists. By leveraging its capabilities, users can create powerful IoT systems that can be accessed and controlled from anywhere in the world.
Understanding the basics of remote IoT is crucial for anyone looking to set up a Raspberry Pi-based system. This involves configuring your network, securing your devices, and ensuring seamless communication between your IoT devices and the Raspberry Pi.
The primary goal of this guide is to provide a step-by-step approach to setting up a Raspberry Pi for remote IoT applications. We'll cover everything from initial setup to advanced configurations, ensuring you have all the tools and knowledge needed to succeed.
Raspberry Pi Overview
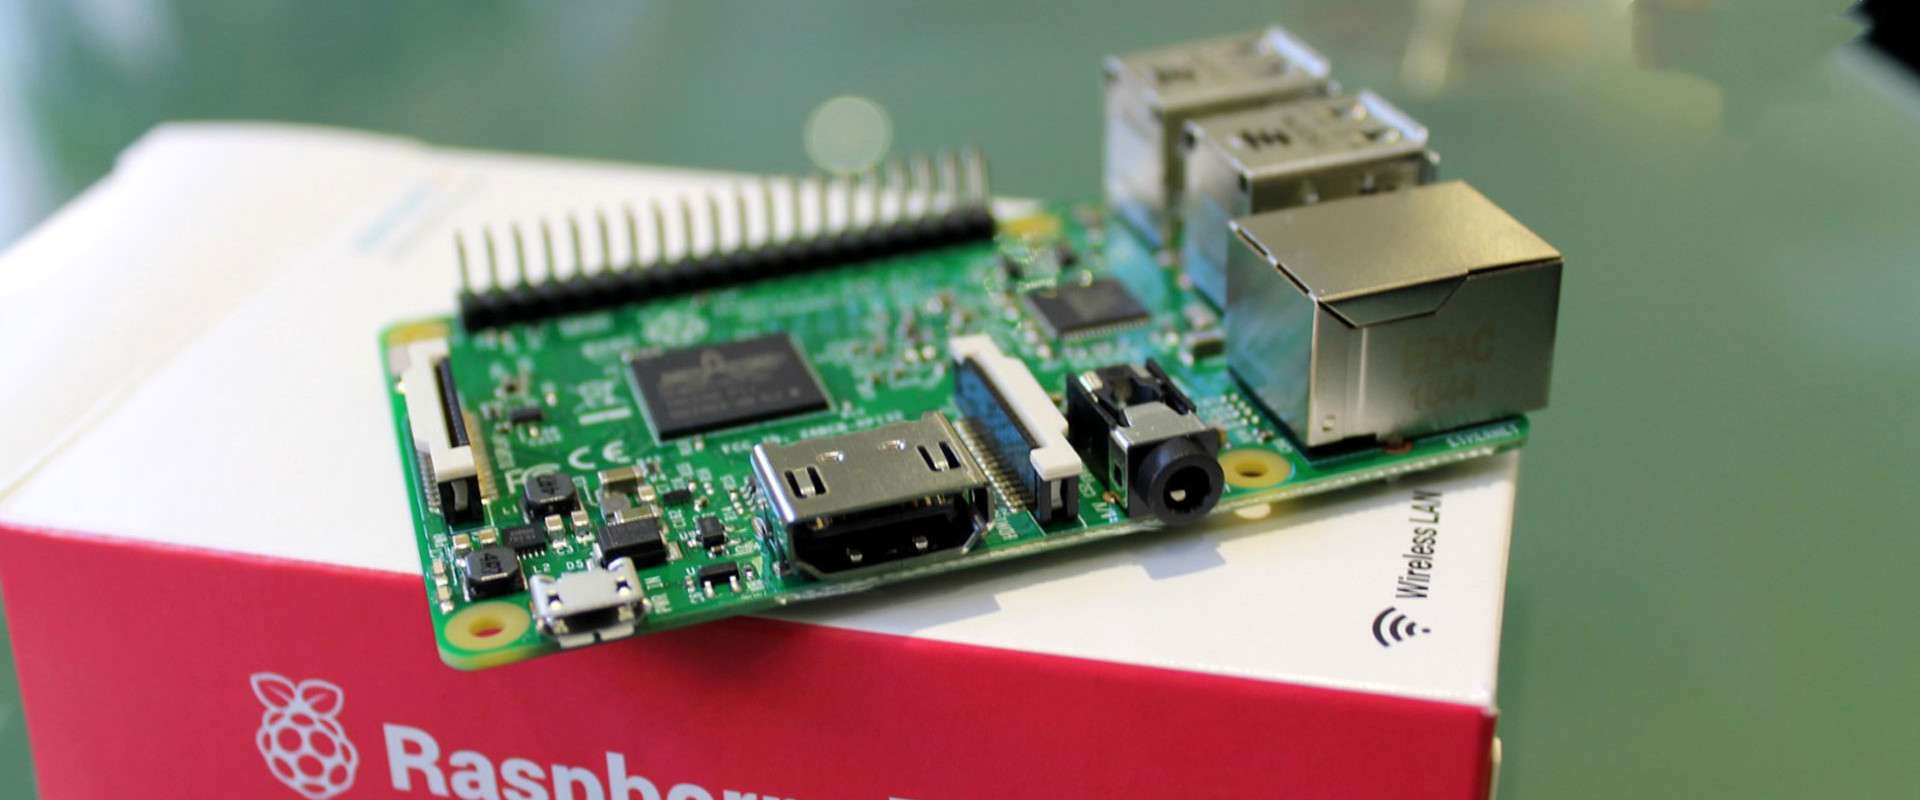
What is Raspberry Pi?
Raspberry Pi is a single-board computer developed by the Raspberry Pi Foundation. It is designed to promote the teaching of basic computer science in schools and developing countries. Despite its small size, the Raspberry Pi is a powerful device capable of running a variety of operating systems and applications.
Key Features of Raspberry Pi
- Compact Size: Ideal for portable and embedded applications.
- Cost-Effective: Affordable for hobbyists and professionals alike.
- Customizable: Supports a wide range of operating systems and software.
- Community Support: A vast community of developers and enthusiasts.
These features make Raspberry Pi an excellent choice for remote IoT applications, offering both flexibility and scalability.
Benefits of IoT with Raspberry Pi
Integrating IoT with Raspberry Pi offers numerous benefits, including:
Read also:Unveiling The Fascinating Role Of The Librarian From Monsters Inc
- Remote Access: Control and monitor devices from anywhere in the world.
- Automation: Automate repetitive tasks and streamline workflows.
- Scalability: Easily expand your IoT network as needed.
- Cost-Effective: Minimize costs associated with traditional hardware solutions.
These benefits make Raspberry Pi a popular choice for both personal and commercial IoT projects.
Setting Up Raspberry Pi for Remote IoT
Step-by-Step Guide
Setting up Raspberry Pi for remote IoT involves several key steps:
- Install the Operating System: Use Raspberry Pi Imager to install the latest version of Raspberry Pi OS.
- Configure Wi-Fi: Set up Wi-Fi or Ethernet connection for internet access.
- Enable SSH: Allow remote access by enabling SSH in the Raspberry Pi configuration.
- Set Up Port Forwarding: Configure your router to forward traffic to the Raspberry Pi.
- Install IoT Software: Choose and install the appropriate software for your IoT application.
Following these steps will ensure your Raspberry Pi is ready for remote IoT applications.
Security Considerations for Remote IoT
Importance of Security
Security is a critical aspect of remote IoT setups. With increasing cyber threats, it's essential to implement robust security measures to protect your devices and data.
Best Security Practices
- Use Strong Passwords: Ensure all devices and accounts have strong, unique passwords.
- Enable Firewall: Use a firewall to block unauthorized access to your network.
- Regular Updates: Keep your operating system and software up to date with the latest security patches.
- Encrypt Data: Use encryption to protect sensitive information transmitted over the network.
Implementing these practices will help safeguard your remote IoT setup against potential threats.
Essential Tools and Software
Software for IoT
Several software tools are essential for remote IoT setups with Raspberry Pi:
- Node-RED: A visual tool for wiring together hardware devices, APIs, and online services.
- Mosquitto: An open-source message broker that implements the MQTT protocol.
- Home Assistant: A popular open-source home automation platform.
Hardware Tools
In addition to software, you'll need the following hardware tools:
- Raspberry Pi Model: Choose a model that suits your project requirements.
- Power Supply: Ensure a stable power source for your Raspberry Pi.
- SD Card: Use a high-quality SD card with sufficient storage capacity.
These tools and software will provide the foundation for a successful remote IoT setup.
Network Configuration for Raspberry Pi
Configuring your network properly is essential for ensuring seamless remote access to your Raspberry Pi. This involves setting up your router, enabling port forwarding, and securing your network connections.
Refer to your router's documentation for specific instructions on setting up port forwarding. Additionally, consider using a dynamic DNS service to simplify remote access to your Raspberry Pi.
Best Practices for Remote IoT
Optimizing Performance
To optimize the performance of your remote IoT setup, follow these best practices:
- Monitor Resource Usage: Keep an eye on CPU, memory, and disk usage to prevent overloading.
- Regular Backups: Schedule regular backups of your data to prevent loss.
- Optimize Code: Write efficient code to minimize resource consumption.
Maintaining Stability
Stability is key to a successful remote IoT setup. Regularly test your system and address any issues promptly to ensure uninterrupted operation.
Troubleshooting Common Issues
Despite careful planning, issues may arise during the setup and operation of your remote IoT system. Here are some common problems and their solutions:
- Connection Issues: Check your network settings and ensure proper configuration of your router.
- Software Errors: Review error logs and update your software to the latest version.
- Hardware Failures: Inspect your hardware for signs of wear and replace faulty components as needed.
By addressing these issues promptly, you can maintain a stable and reliable remote IoT setup.
Future Trends in Remote IoT
The field of remote IoT is rapidly evolving, with new technologies and trends emerging regularly. Some of the most promising trends include:
- Edge Computing: Processing data closer to the source for faster response times.
- 5G Connectivity: Enabling faster and more reliable communication between devices.
- AI Integration: Using artificial intelligence to enhance IoT capabilities and automation.
Staying informed about these trends will help you stay ahead in the world of remote IoT.
Conclusion
In conclusion, setting up a Raspberry Pi for remote IoT applications offers numerous benefits and opportunities. By following the steps outlined in this guide, you can create a secure, efficient, and scalable IoT system tailored to your needs.
We encourage you to share your experiences and insights in the comments section below. Additionally, feel free to explore other articles on our site for more information on Raspberry Pi and IoT technologies.
Thank you for reading, and happy tinkering!