Connecting Raspberry Pi behind a router is a common task for tech enthusiasts, but it requires careful setup to ensure smooth operation. This guide will walk you through the process step-by-step, ensuring your Raspberry Pi remains secure and accessible.
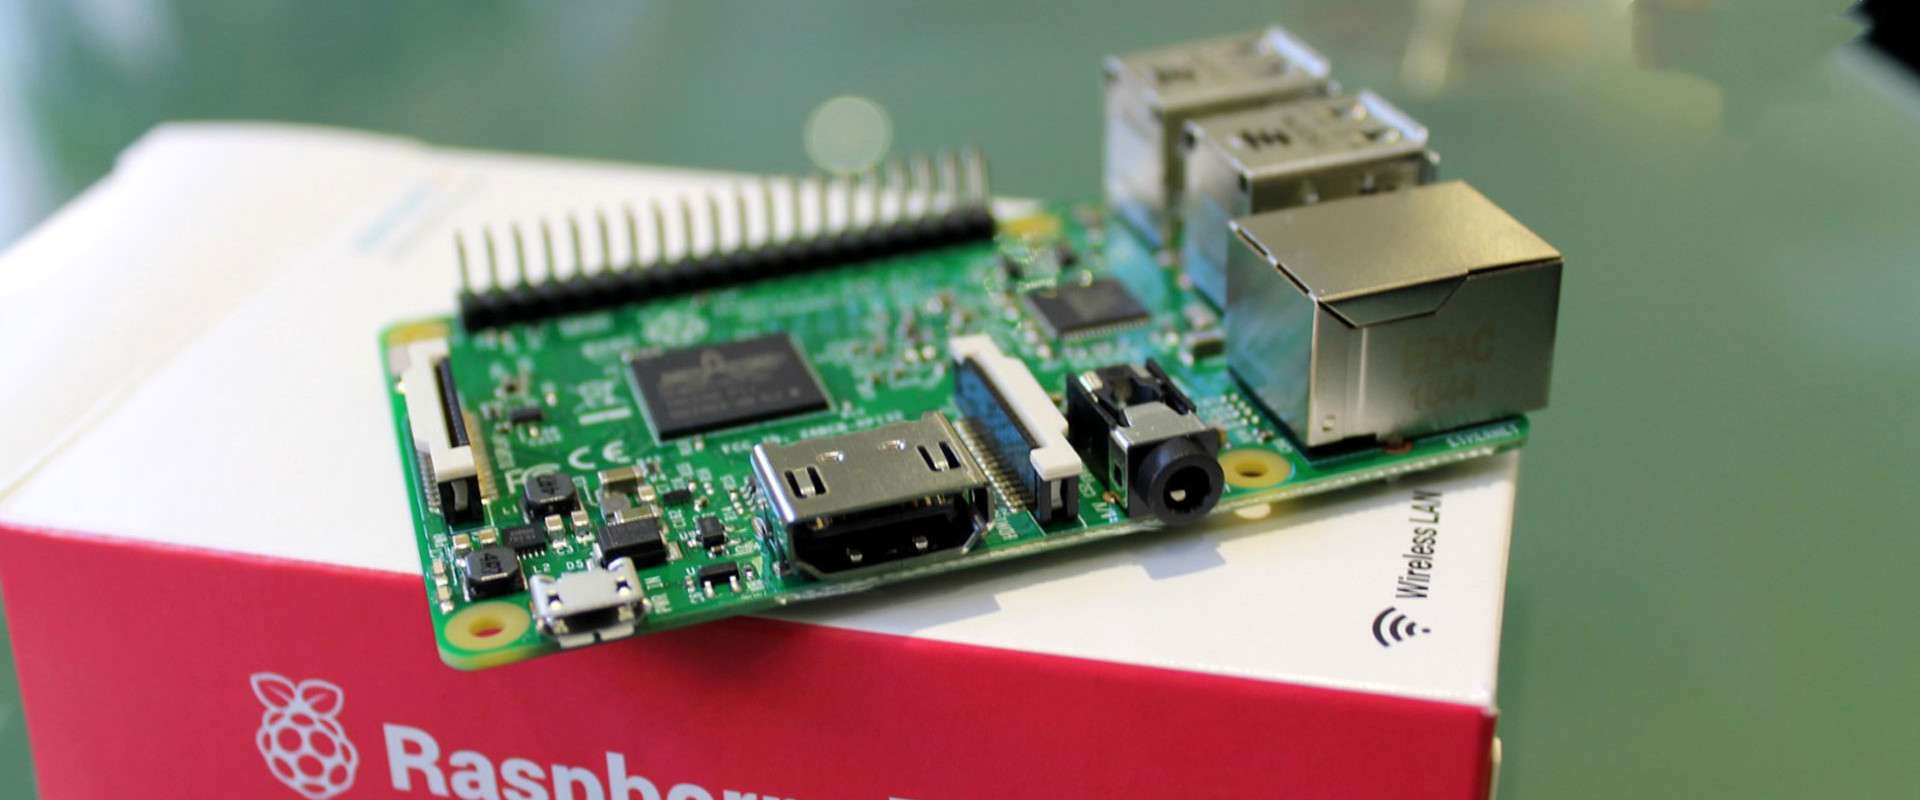
With the rise of IoT (Internet of Things) devices, Raspberry Pi has become a popular choice for hobbyists and professionals alike. Its versatility and affordability make it an ideal platform for various projects. However, setting up Raspberry Pi behind a router involves several considerations to ensure seamless connectivity.
This article delves into the intricacies of connecting Raspberry Pi behind a router, addressing potential challenges and offering solutions. By the end, you'll have a clear understanding of the process and be ready to implement it in your own setup.
Read also:Jeff Bezos Ancestry Tracing The Roots Of A Visionary Entrepreneur
Table of Contents
- Introduction to Raspberry Pi Connectivity
- Hardware Requirements
- Software Setup
- Network Configuration
- Router Settings
- Port Forwarding
- SSH Access
- Remote Access
- Security Measures
- Troubleshooting Tips
- Conclusion
Introduction to Raspberry Pi Connectivity
Connecting Raspberry Pi behind a router is essential for projects that require internet access. Whether you're setting up a home server, media center, or IoT device, understanding the network configuration is crucial. This section provides an overview of the basics and sets the stage for more detailed instructions.
Raspberry Pi operates as a small computer, and like any other device, it needs proper networking to function effectively. Placing it behind a router offers several advantages, such as enhanced security and ease of management. However, it also introduces challenges, particularly when it comes to accessing the Pi from outside the local network.
By following this guide, you'll learn how to configure your Raspberry Pi to work seamlessly with your router, ensuring both functionality and security.
Hardware Requirements
Before diving into the software setup, it's important to ensure you have the necessary hardware. Below is a list of essential items:
- Raspberry Pi (any model)
- MicroSD card with Raspberry Pi OS installed
- Power supply compatible with your Raspberry Pi model
- Ethernet cable (optional, for wired connections)
- Router with Wi-Fi or Ethernet ports
Having the right hardware is the foundation of a successful setup. If you're using a Wi-Fi connection, ensure your Raspberry Pi model supports it or consider using a USB Wi-Fi adapter.
Software Setup
Installing Raspberry Pi OS
The first step in connecting Raspberry Pi behind a router is installing the operating system. Raspberry Pi OS is the recommended choice due to its compatibility and support for various applications.
Read also:Pining Kim By Trailblazer An Indepth Look At Her Journey Achievements And Impact
Follow these steps to install Raspberry Pi OS:
- Download the Raspberry Pi Imager from the official website.
- Insert your microSD card into your computer.
- Launch the Raspberry Pi Imager and select the Raspberry Pi OS image.
- Choose your microSD card as the target device and click "Write."
Configuring Wi-Fi or Ethernet
After installing the OS, configure your network settings. For Wi-Fi, edit the `wpa_supplicant.conf` file on the microSD card before inserting it into the Raspberry Pi. For Ethernet, simply connect the cable to your router.
Network Configuration
Proper network configuration is vital for Raspberry Pi connectivity. This section explains how to set up your Pi to work efficiently with your router.
Once your Raspberry Pi is powered on, access the terminal and check your IP address using the following command:
ip addr
This IP address will be used for accessing your Raspberry Pi from other devices on the network.
Router Settings
Your router plays a critical role in ensuring Raspberry Pi connectivity. Adjust the following settings for optimal performance:
- Static IP Assignment: Assign a static IP address to your Raspberry Pi to prevent address changes.
- DHCP Reservation: Reserve the IP address assigned to your Raspberry Pi to ensure consistency.
Access your router's admin panel using its default gateway address (e.g., 192.168.1.1) and log in with the appropriate credentials. Navigate to the DHCP or LAN settings to configure these options.
Port Forwarding
Port forwarding is essential for accessing your Raspberry Pi from outside your local network. This process directs incoming traffic to your Pi, enabling remote access.
To set up port forwarding:
- Identify the port numbers required for your application (e.g., 22 for SSH).
- Log in to your router's admin panel.
- Navigate to the port forwarding or virtual server settings.
- Add a new rule, specifying the port number and the Raspberry Pi's IP address.
Refer to your router's manual for specific instructions, as the process may vary between models.
SSH Access
SSH (Secure Shell) is a protocol that allows you to access and control your Raspberry Pi remotely. Enabling SSH is straightforward:
- On your Raspberry Pi, open the terminal and type:
sudo raspi-config
- Select "Interfacing Options" and enable SSH.
- Reboot your Raspberry Pi to apply the changes.
Once SSH is enabled, you can connect to your Raspberry Pi from another device using an SSH client like PuTTY or the terminal.
Remote Access
Using Dynamic DNS
Dynamic DNS (DDNS) services help maintain access to your Raspberry Pi even if your router's external IP address changes. Popular DDNS providers include No-IP and DynDNS.
Set up DDNS by:
- Signing up for a DDNS service and creating a hostname.
- Installing the DDNS client software on your Raspberry Pi.
- Configuring the client to update your hostname with your current IP address.
Connecting via SSH Tunnel
For added security, use an SSH tunnel to access your Raspberry Pi remotely. This method encrypts your connection, protecting it from potential threats.
Security Measures
Securing your Raspberry Pi is paramount, especially when it's connected to the internet. Implement the following measures:
- Change the default SSH password to a strong, unique one.
- Disable root login via SSH to prevent unauthorized access.
- Install a firewall to control incoming and outgoing traffic.
- Regularly update your Raspberry Pi OS and applications to patch vulnerabilities.
By prioritizing security, you protect your device and the data it handles.
Troubleshooting Tips
Even with careful setup, issues can arise. Below are common problems and their solutions:
- No Network Connection: Verify your router settings and ensure the Raspberry Pi is properly connected.
- SSH Connection Refused: Check if SSH is enabled and ensure the correct port is forwarded.
- IP Address Conflict: Assign a unique static IP address to your Raspberry Pi.
Refer to the official Raspberry Pi documentation for additional troubleshooting assistance.
Conclusion
Connecting Raspberry Pi behind a router is a straightforward process when approached methodically. By following the steps outlined in this guide, you can ensure your Raspberry Pi is securely and efficiently integrated into your network.
Remember to prioritize security and regularly update your setup to maintain optimal performance. We encourage you to share your experiences or ask questions in the comments below. Additionally, explore other articles on our site for more Raspberry Pi tips and tricks.