In the era of interconnected devices, the concept of a remote IoT platform has become increasingly significant for tech enthusiasts and professionals alike. Whether you're managing a small home automation system or developing a large-scale industrial solution, the ability to remotely control and monitor devices is crucial. One of the most popular tools for achieving this is the Raspberry Pi, combined with SSH (Secure Shell) for secure remote access. Additionally, for users working on Windows 10, understanding how to download and set up the necessary tools is vital for seamless operation.
With advancements in technology, remote IoT platforms have become more accessible, offering users flexibility and convenience. The Raspberry Pi, a compact and affordable single-board computer, plays a pivotal role in this domain. It allows users to deploy various applications, from controlling smart home devices to monitoring environmental conditions, all through a remote SSH connection.
This article will provide a detailed exploration of setting up a remote IoT platform using SSH on a Raspberry Pi, specifically tailored for Windows 10 users. By the end of this guide, you'll have a comprehensive understanding of the setup process, including downloading the necessary software and ensuring secure access.
Read also:The Chosen Jonathan Roumie Net Worth A Comprehensive Guide
Table of Contents
- Introduction to Remote IoT Platforms
- Raspberry Pi Overview
- Basics of SSH
- Setup Process
- Windows 10 Requirements
- Downloading Necessary Tools
- Configuration Steps
- Security Considerations
- Troubleshooting Tips
- Future Trends in Remote IoT Platforms
- Conclusion
Introduction to Remote IoT Platforms
Remote IoT platforms have revolutionized the way we interact with devices. These platforms enable users to control, monitor, and manage devices from anywhere in the world, provided they have an internet connection. The integration of IoT with remote access technologies like SSH has opened up countless possibilities for innovation.
The Raspberry Pi serves as a cornerstone in this ecosystem. Its affordability, versatility, and ease of use make it an ideal choice for developers and hobbyists. By combining the Raspberry Pi with SSH, users can securely access their devices remotely, ensuring efficient management and troubleshooting.
Why Choose Raspberry Pi?
- Compact and lightweight design
- Cost-effective solution for IoT projects
- Versatile and compatible with various operating systems
- Extensive community support and resources
Raspberry Pi Overview
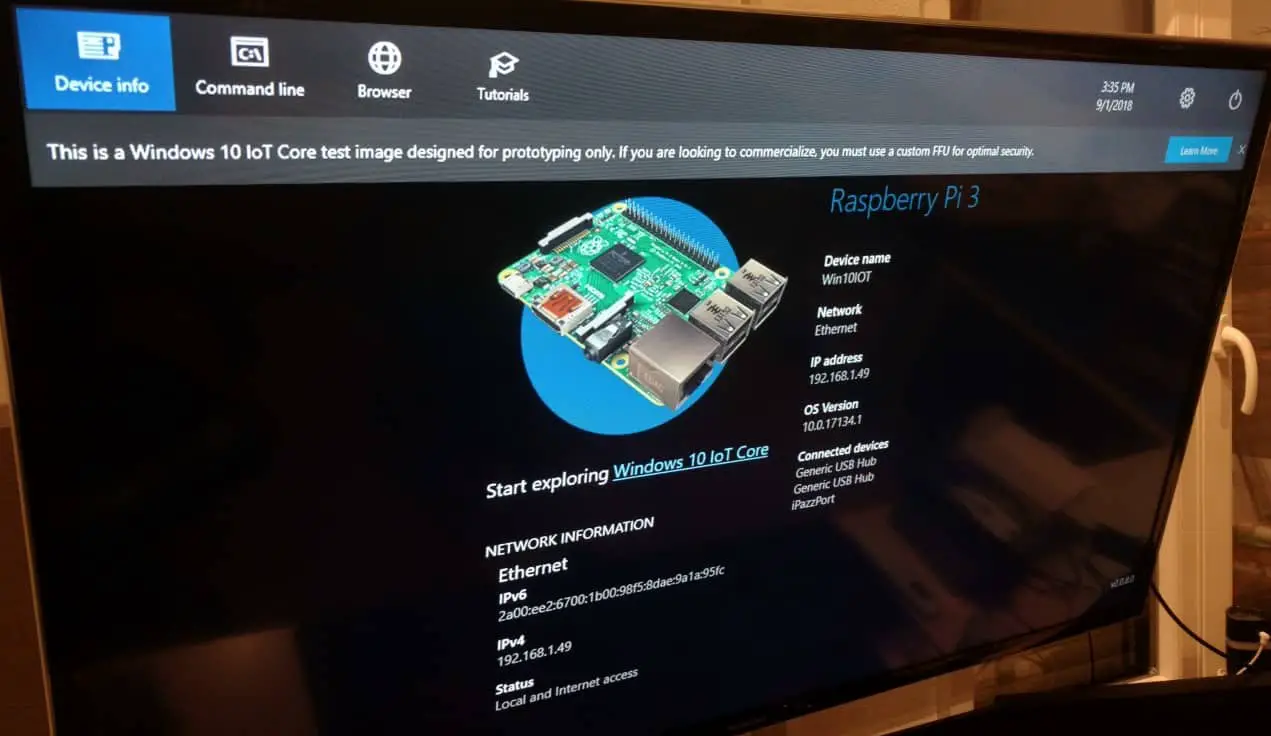
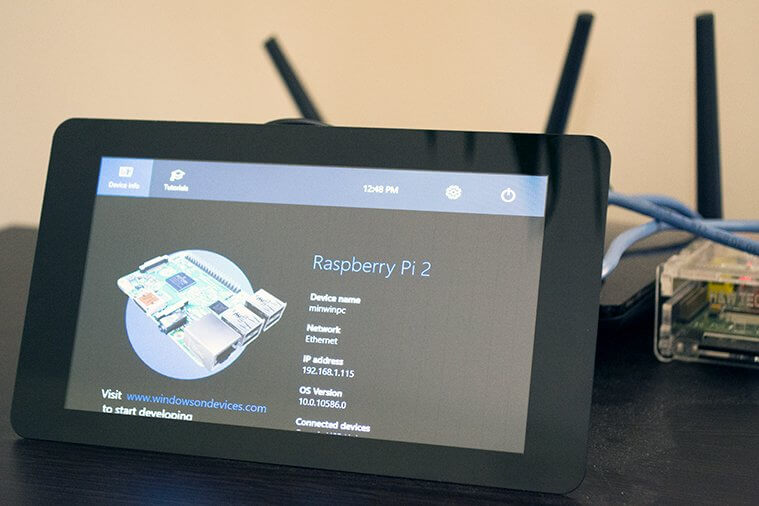
The Raspberry Pi is a series of small single-board computers developed by the Raspberry Pi Foundation. Initially designed for educational purposes, it has since gained popularity among hobbyists, developers, and professionals for its versatility and affordability.
Key features of the Raspberry Pi include:
- Multiple GPIO pins for connecting peripherals
- Support for various operating systems, including Raspberry Pi OS
- Built-in Wi-Fi and Bluetooth capabilities
- Compatibility with numerous accessories and modules
Types of Raspberry Pi
The Raspberry Pi comes in several models, each catering to different needs and budgets. Some of the most popular models include:
- Raspberry Pi 4 Model B
- Raspberry Pi Zero W
- Raspberry Pi 3 Model B+
Basics of SSH
SSH, or Secure Shell, is a cryptographic network protocol used for secure communication between devices over an unsecured network. It provides a secure way to access remote systems, transfer files, and execute commands.
Read also:Trail Blazer Pining For Kim The Untold Journey
Key benefits of using SSH include:
- Encryption of data during transmission
- Authentication mechanisms to ensure secure access
- Support for file transfer through SCP (Secure Copy Protocol) and SFTP (SSH File Transfer Protocol)
SSH in IoT
In the context of IoT, SSH plays a crucial role in enabling secure remote access to devices. This is particularly important for managing IoT platforms, where devices may be located in remote or inaccessible locations.
Setup Process
Setting up a remote IoT platform using SSH on a Raspberry Pi involves several steps. Below is a comprehensive guide to help you through the process:
Step 1: Install Raspberry Pi OS
Begin by downloading and installing Raspberry Pi OS on your Raspberry Pi. This operating system is specifically designed for the Raspberry Pi and provides a stable foundation for IoT projects.
Step 2: Enable SSH
To enable SSH on your Raspberry Pi, follow these steps:
- Open the Raspberry Pi Configuration tool
- Navigate to the "Interfaces" tab
- Select "SSH" and enable it
Windows 10 Requirements
For Windows 10 users, ensuring your system meets the necessary requirements is essential for a smooth setup process. Below are the key requirements:
- Windows 10 version 1809 or later
- An SSH client installed (e.g., PuTTY or Windows Terminal)
- A stable internet connection
Installing an SSH Client
Windows 10 includes a built-in SSH client, but you can also use third-party tools like PuTTY for enhanced functionality. To install the built-in SSH client, open PowerShell and type the following command:
ssh
Downloading Necessary Tools
Before proceeding with the setup, ensure you have downloaded all the necessary tools and software. This includes:
- Raspberry Pi Imager for installing Raspberry Pi OS
- SSH client for Windows 10
- Additional drivers or software as needed
Where to Download?
Official sources for downloading these tools include:
Configuration Steps
Once all the tools are installed, it's time to configure your remote IoT platform. Follow these steps for a successful setup:
Step 1: Connect to Your Raspberry Pi
Use the SSH client to connect to your Raspberry Pi. Enter the following command in your terminal:
ssh pi@raspberrypi.local
Step 2: Update and Upgrade
Ensure your Raspberry Pi is up to date by running the following commands:
sudo apt update && sudo apt upgrade
Security Considerations
Security is paramount when setting up a remote IoT platform. Below are some best practices to enhance the security of your setup:
- Use strong passwords or SSH keys for authentication
- Disable password authentication if using SSH keys
- Regularly update your Raspberry Pi OS and software
Firewall Configuration
Configuring a firewall can add an extra layer of security to your setup. Use tools like UFW (Uncomplicated Firewall) to manage incoming and outgoing traffic.
Troubleshooting Tips
Encountering issues during setup is common. Below are some troubleshooting tips to help you resolve common problems:
- Ensure your Raspberry Pi is connected to the same network as your Windows 10 PC
- Check the IP address of your Raspberry Pi
- Verify that SSH is enabled on your Raspberry Pi
Future Trends in Remote IoT Platforms
The future of remote IoT platforms looks promising, with advancements in technology driving innovation. Some trends to watch out for include:
- Increased adoption of edge computing
- Integration with AI and machine learning for smarter devices
- Improved security measures to protect against cyber threats
Conclusion
In conclusion, setting up a remote IoT platform using SSH on a Raspberry Pi is a rewarding experience for tech enthusiasts and professionals alike. By following the steps outlined in this guide, you can create a secure and efficient system tailored to your needs.
We encourage you to share your thoughts and experiences in the comments section below. Additionally, feel free to explore other articles on our website for more insightful content. Thank you for reading!